What Is a One-Time Phishing Campaign?
A One-Time Phishing Campaign sends a single round of simulated phishing emails to selected users.
It’s quick to set up and perfect for:
-
Running your first phishing test
-
Assessing your organization’s baseline awareness
-
Identifying employees who may need additional training
If you plan to run continuous simulations, consider using a Smart Phishing Campaign instead.
Before You Start
-
Follow the Phishing Simulation Checklist - Following this sets everything up technically so emails are delivered properly
Step-by-Step Setup
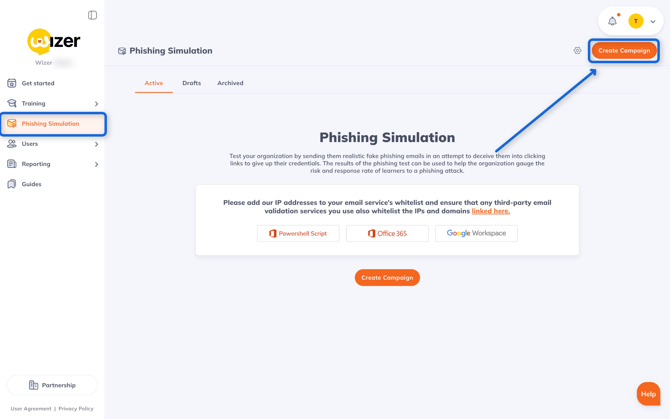
Step 1. Access Phishing Simulation
From your Wizer Admin panel, go to Phishing Simulation › Create Campaign.
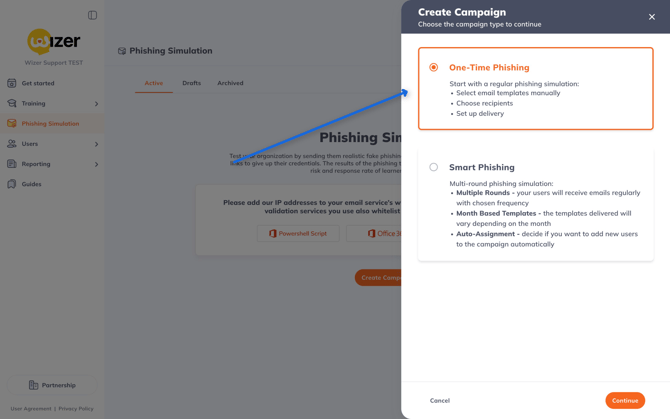
Step 2. Choose the Campaign Type
Select One-Time Phishing
You can also read here on How To Set Up a Smart Phishing Campaign
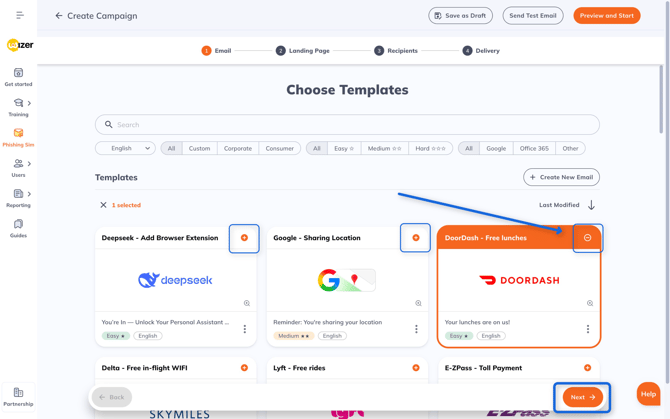
Step 3. Pick or Create a Template
Pick a ready-made template from the library or Clone & Edit one.
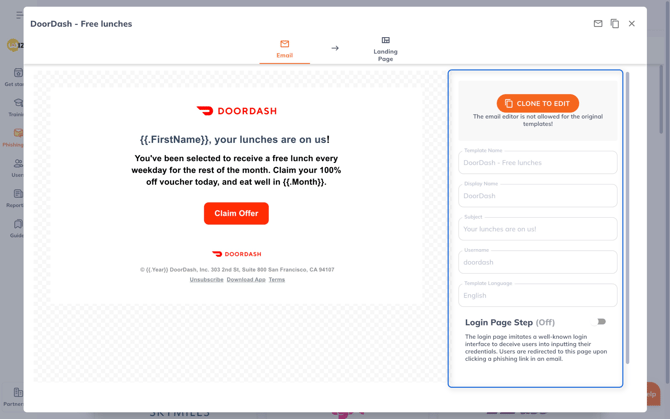
Each template includes:
-
Display Name / Sender Name – shown to recipients
-
Subject Line – the email title
-
Username / Subdomain – appears in the landing page URL
- Login Page Step – adds a fake login screen to phish for usernames and passwords
When ready, click Next.
Step 4. Customize the Landing Page
Edit the page users see after clicking the phishing link.
You can adjust:
-
Mood (neutral, friendly, or serious)
-
Text
-
Optional video
Click Next to continue.

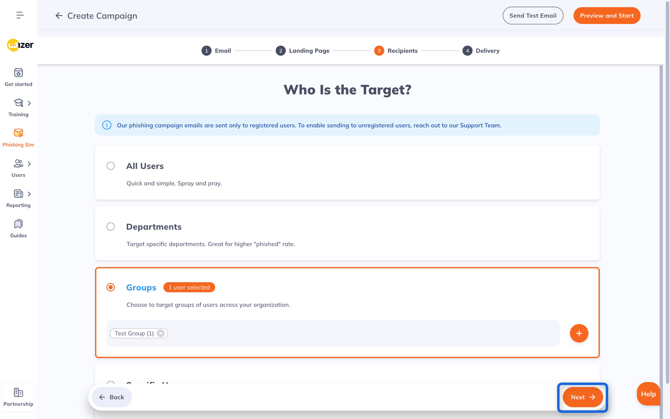
Step 5. Select Recipients
Pick who will receive the simulation:
-
All users
-
Departments
-
Groups
-
Specific users
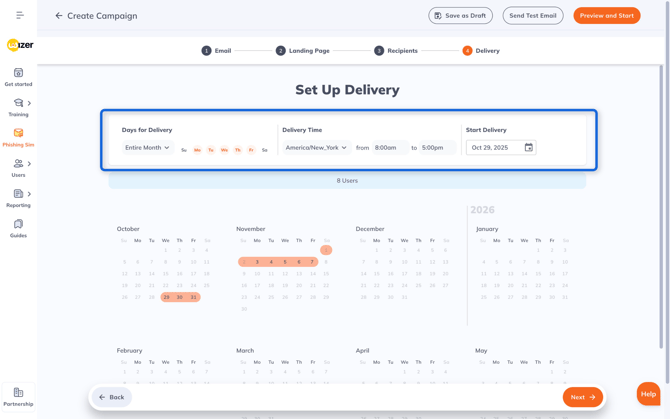
Step 6. Configure Delivery
Set when and how emails are sent:
-
Days for Delivery – total duration of campaign and days of the week emails get sent
-
Delivery Time – the time of day emails get sent
-
Start Delivery – the start date for the campaign
Hover over calendar dates (highlighted in orange) to preview daily send volumes.
Best Practice: Spread delivery across days and times so not everyone receives identical emails simultaneously.
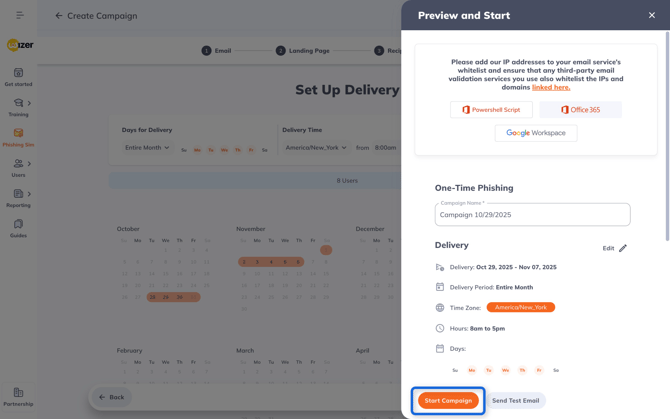
Step 7. Review and Launch
Double-check all settings and click Start Campaign.
You’ll see a confirmation: “Phishing Campaign Successfully Started.”
Video Tutorial
🎥 Watch: How to Create a Phishing Simulation — short walkthrough of the full setup.
That’s It!
Your one-time phishing simulation is live!
The next steps are to:
-
Track results:
View real-time stats for Emails Sent, Opened, Clicked, and Phished. -
Reports:
Open the Report tab for detailed user and template data. -
Archive:
Completed campaigns appear under Archived — you can review them anytime.

Optional: Advanced Settings & Tips
Customize Templates or Create Your Own
You can fully edit existing templates or design your own phishing email from scratch.
Customize:
-
Sender name and subject line
-
Message body
✏️ Tip: Creating your own templates lets you mimic internal messages or current phishing trends for more realistic tests.
Best Practices
-
Run phishing tests regularly (e.g., monthly or quarterly).
-
Use varied templates to prevent pattern recognition.
-
Follow up with quick awareness training for those who clicked.
FAQ
Do users get notified when I start a campaign?
No. Only when they’re assigned a Training, Phishing Exercise, Policy, or Monthly Video.
Can I send phishing simulation emails to unregistered users?
Yes. To enable this feature, please ensure you have Wizer Boost, then reach out to support@wizer-training.com and ask to enable Silent Phishing.
Can I run a phishing campaign before training starts?
Yes. You can test your users even before assigning formal training.
Why use “Entire Period” delivery?
To prevent employees from warning others right after receiving the email.
Next Steps: