Creating a custom Safe Links policy in the Microsoft 365 Defender portal creates the safe links rule and the associated safe links policy at the same time using the same name for both.
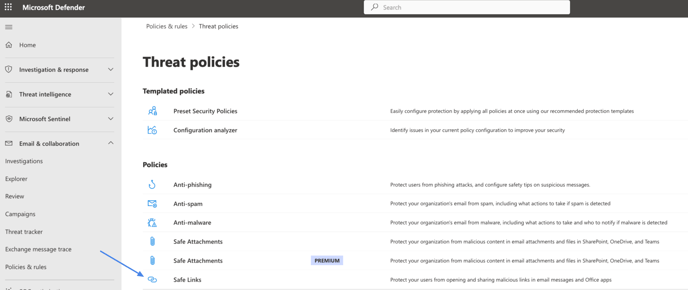
In the Microsoft 365 Defender portal, go to Policies & rules > Threat Policies > Policies section > Safe Links.
-
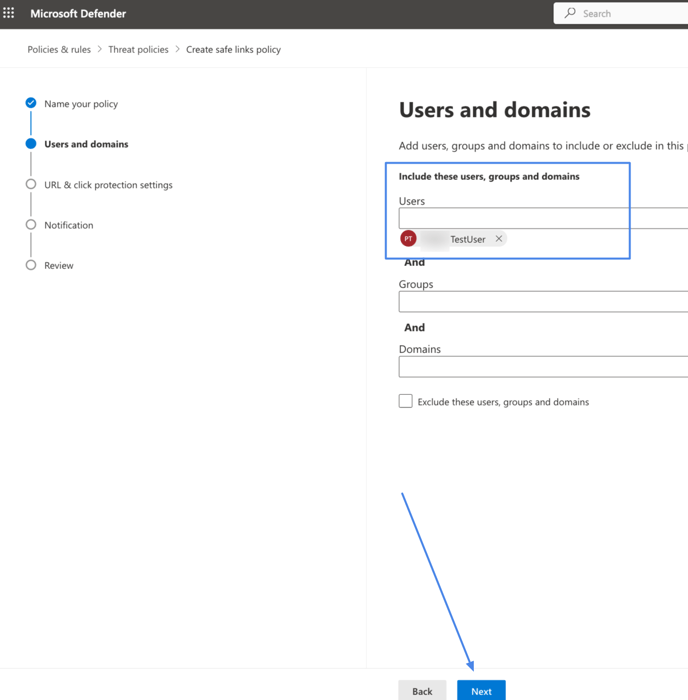
On the Users and domains page that appears, identify the internal recipients that the policy applies to (recipient conditions):
-
On the Safe Links page, click
 Create.
The New Safe Links policy wizard opens. Please add a desired name and description(optional):

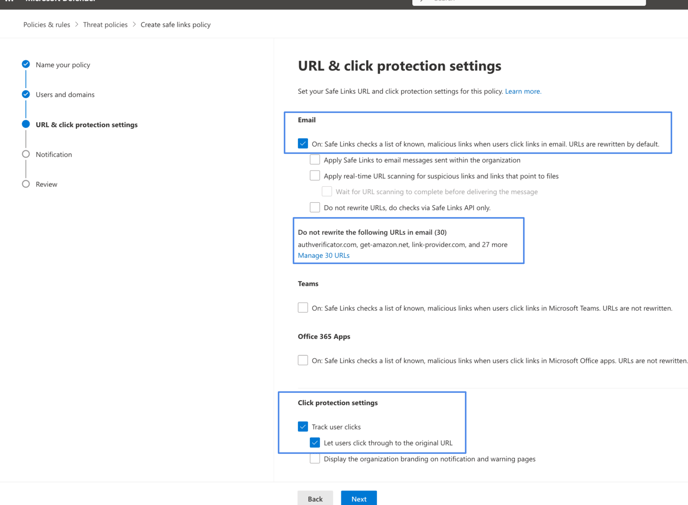
3. On the URL & Click protection settings page that appears, enable the safe links only.
Please make sure to enable the track user clicks and let users click through to the original URL options.
Navigate to the do not rewrite the following URLs in email > Manage URLs
Here you need to add the domains from this list
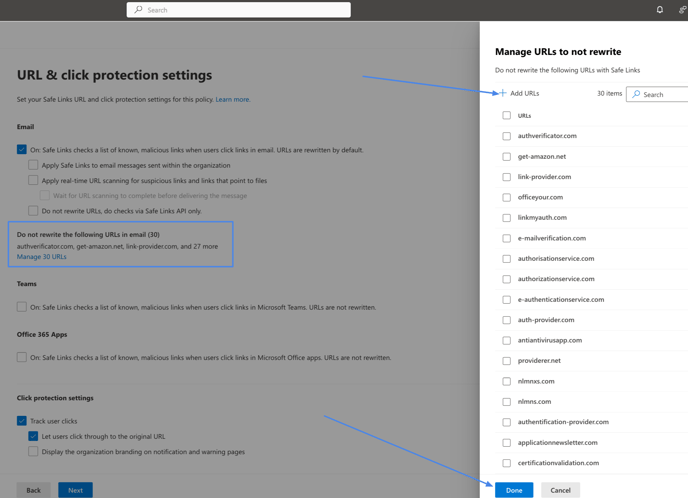
When you're finished, click Next.
On the Notification page that appears, select the desired notification either default or a custom one: 
On the Review page that appears, review your settings. You can select Edit in each section to modify the settings within the section. Or you can click Back or select the specific page in the wizard.
When you're finished, click Submit.
On the confirmation page that appears, click Done.

* Please double-check if the created rules do not conflict with any existing rules in your setup. In case there is a conflict, please make sure the new rules have the highest priority.
Once the above rule is implemented please test the phishing simulation and review whether the results will contain false click events.
If you won't see false events, you can skip the below step.
OPTIONAL
Once the policy is active, return to the threat policies home page and navigate to the Preset Security Policies: 
Please exclude the users you intend to target with our phishing simulations from the built-in protection:
Once you added the desired users please save the settings: