How To Set Up Azure SSO
|
Attention |
Step 1: Connect your Azure Entra ID directory
To set up Azure SSO in Wizer, follow these steps:
1. Log in to the Azure Portal https://azure.microsoft.com/en-us/account/ as a directory
administrator
2. Find the Microsoft Entra ID service and click on it:
3. In the Properties Tab note down your Tenant ID

4. In the Wizer Admin Panel enter your Tenant ID and then click Save
5. Log out if you are logged in to the Employee App (https://app.wizer-training.com)
6. Click your SSO Link in the Azure tab. You will be redirected to the Employee App

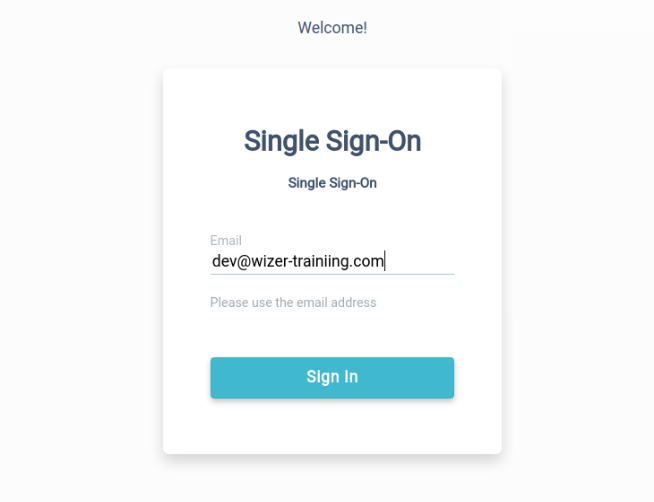
7. Enter your Azure SSO email address (should be administrator) and click Sign In

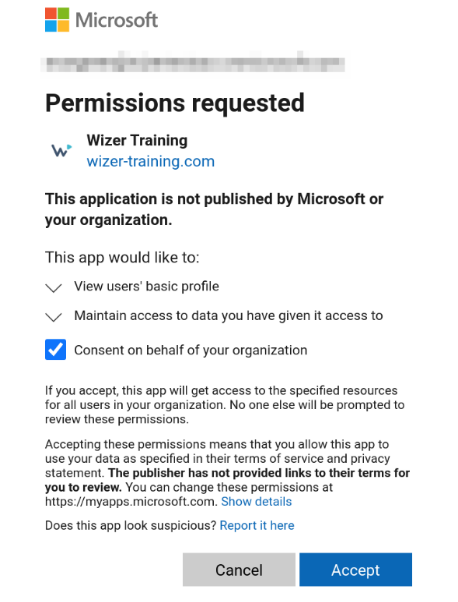
8. You will be redirected to your Azure login web page. Enter your Azure credentials and grant
tenant-wide admin consent to the Wizer application

9. You should be redirected back to the Wizer Employee App and should be Signed In.
All your users should be able to log in to the Wizer application using the SSO functionality.
10. Below you can see the example settings of the SSO app that will automatically be created after the above steps are performed. The SSO app can be found via AD overview>Enterprise applications section.

Step 2: Configure the SCIM Automatic user provisioning
Now you can generate and configure a SCIM bearer token.

Click the link below to proceed with step 2 which opens in a new tab.
Azure SCIM - Automatic User Provisioning
You may also Enforce SSO. This feature allows configuring SSO user access to Wizer. When SSO is not enforced the users can sign in to Wizer with SSO and password by using the reset password flow. This is considered a security issue, as it contradicts the very essence of the SSO application. Now as an Admin you can Enforce SSO in Wizer UI and forbid password usage for SSO users. Non-SSO users will still be able to log in with the password.
Multiple Tenants in AD
- You can manage all the internal customers under a single instance and invite others to the SSO app as external users. All end-users should be added as external users to their main AD instance.
- You can register a separate company in Wizer and move users there. The users will lose progress since they will be added to another company.
- We can move users to another company without losing progress per request, but it can take a long time depending on the volume of tasks and amount of users.
- Remove SSO for users under another AD instance, so one part of the users will use SSO login and another non-SSO.
Any questions? Please do not hesitate to contact our support specialists at support@wizer-training.com.