|
Attention Step 1: Connect your Google Workspace directory with Wizer Step 2: Configuring the Directory sync for automatic user provisioning |
Step 1: Connect your Google Workspace directory with Wizer
1. Go to Google Admin https://admin.google.com/ (opens in a new tab)
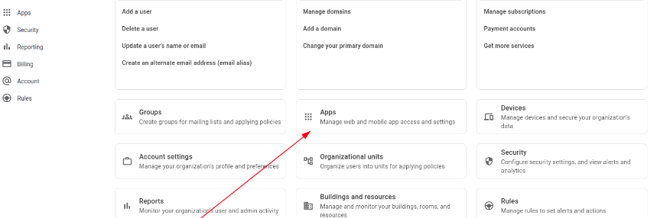
2. Click Apps
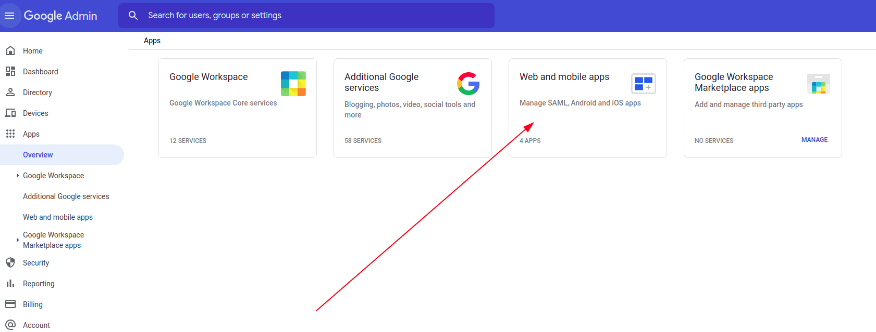
3. Click Web and mobile apps
4. Click Add App and then click Add custom SAML app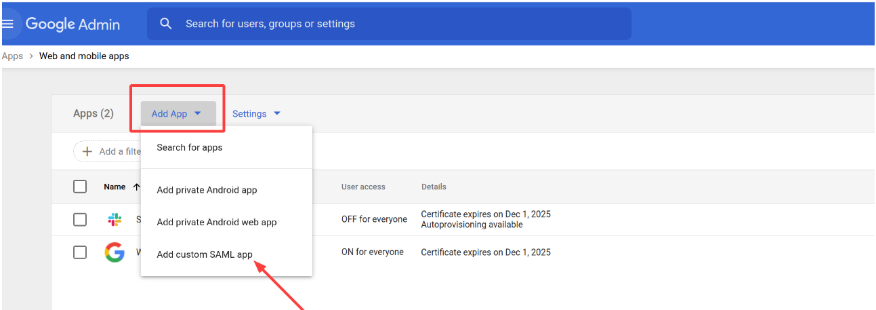
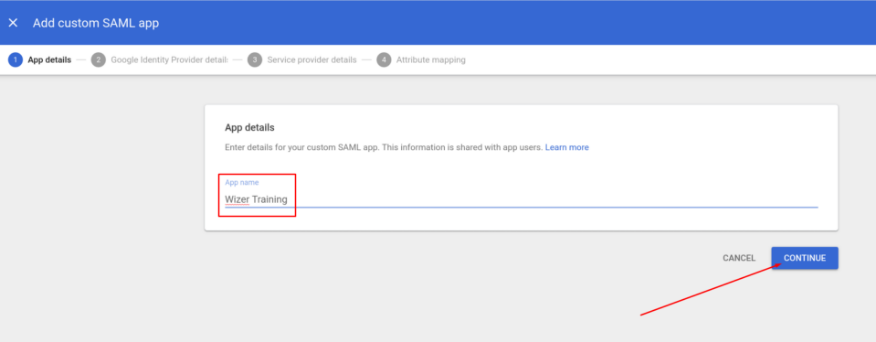
5. In App Name, enter a name for the application. Click Continue
6. The Google IdP Information appears, including the SSO URL, Entity ID URLs and
Certificate
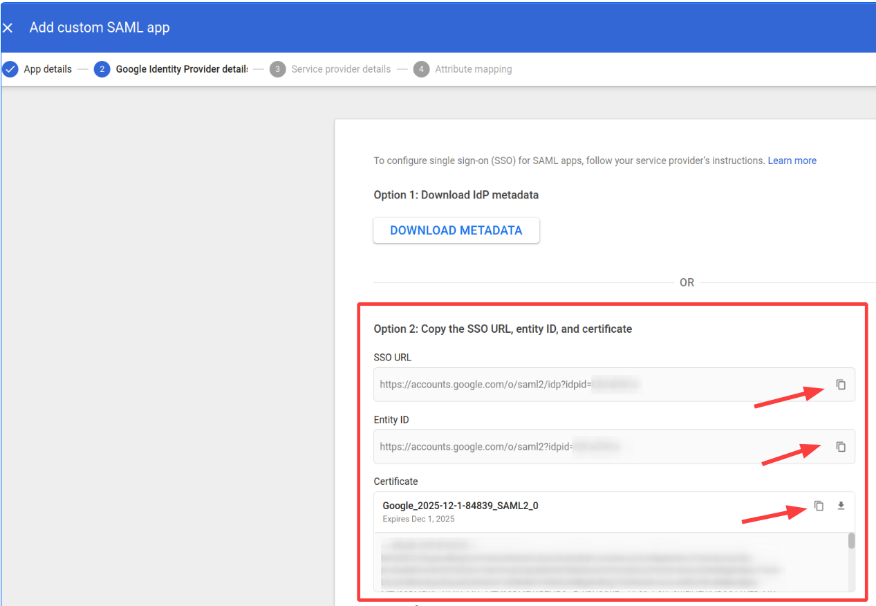
Copy values from the Google Workspace App Wizard (the screenshot above) and paste them into the
Wizer admin panel (https://admin.wizer-training.com/settings/single-sign-on) under the Google Workspace Tab (the screenshot below).
• SSO URL
• Entity ID
• Certificate
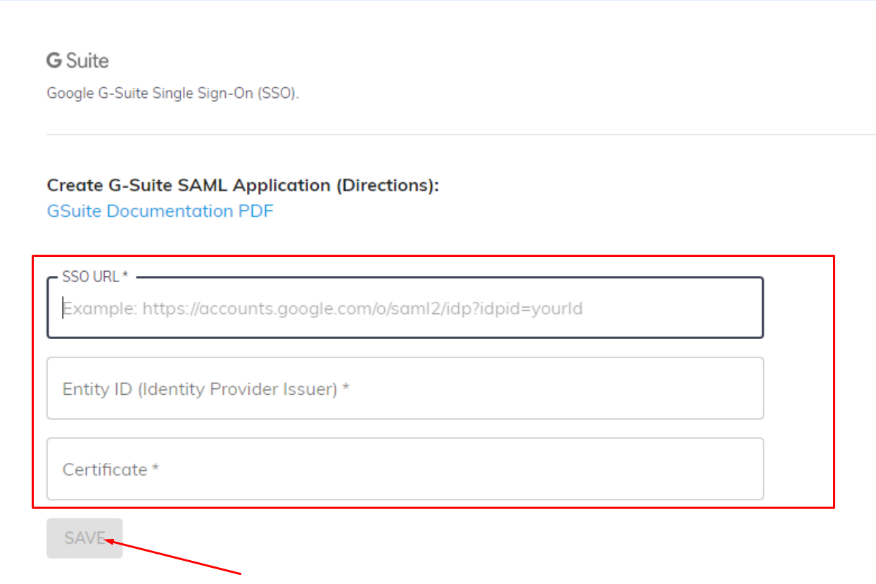
Then click Save
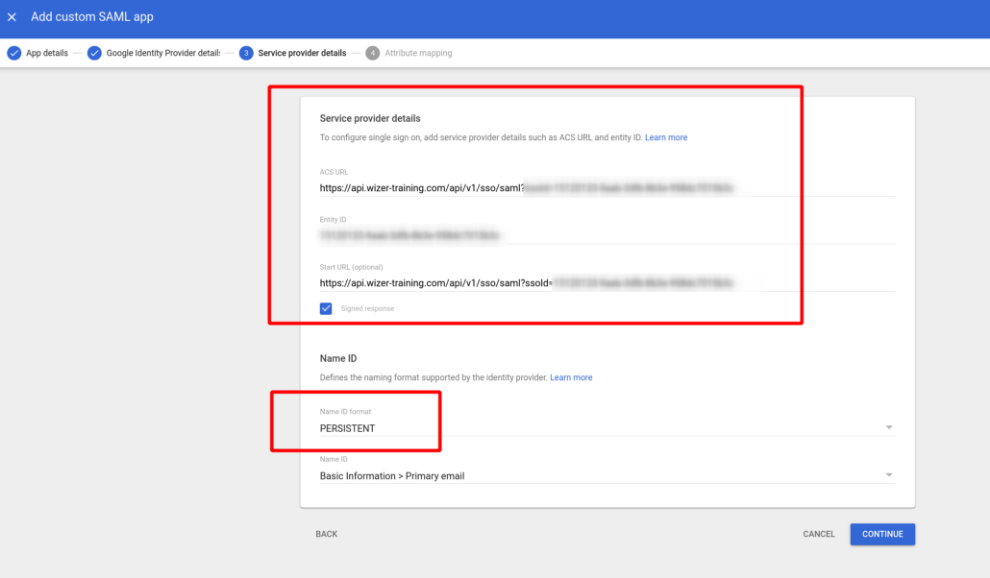
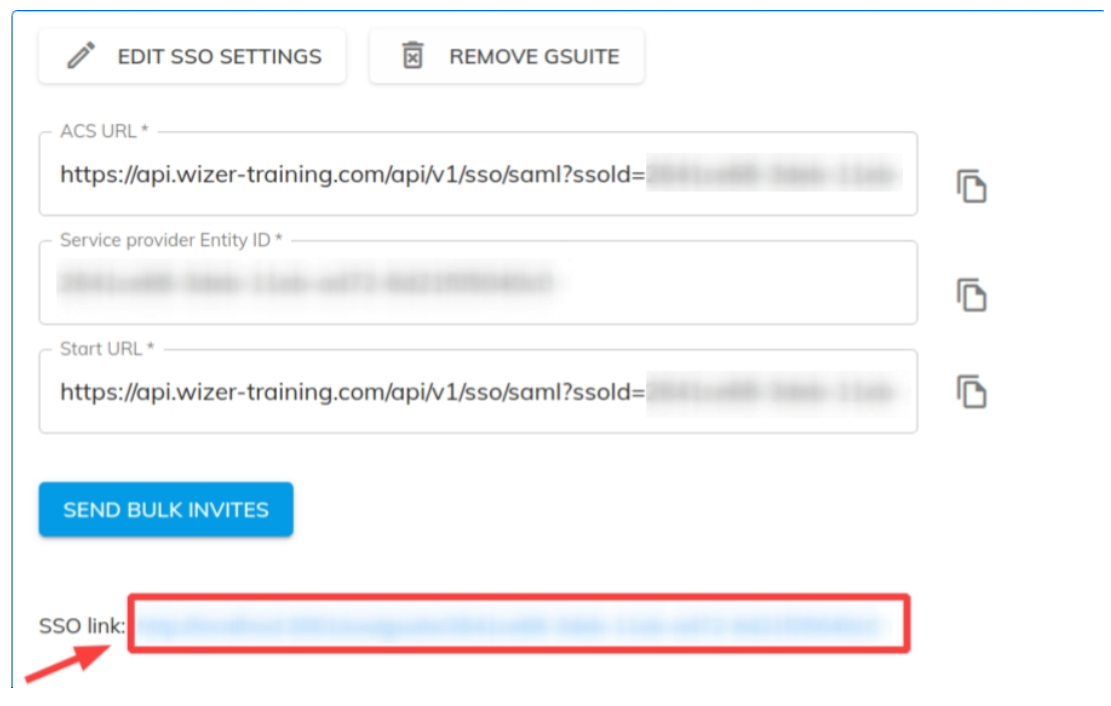
7. The Service Provide Information should appear, including the ACS URL, Entity ID and
Start URLs.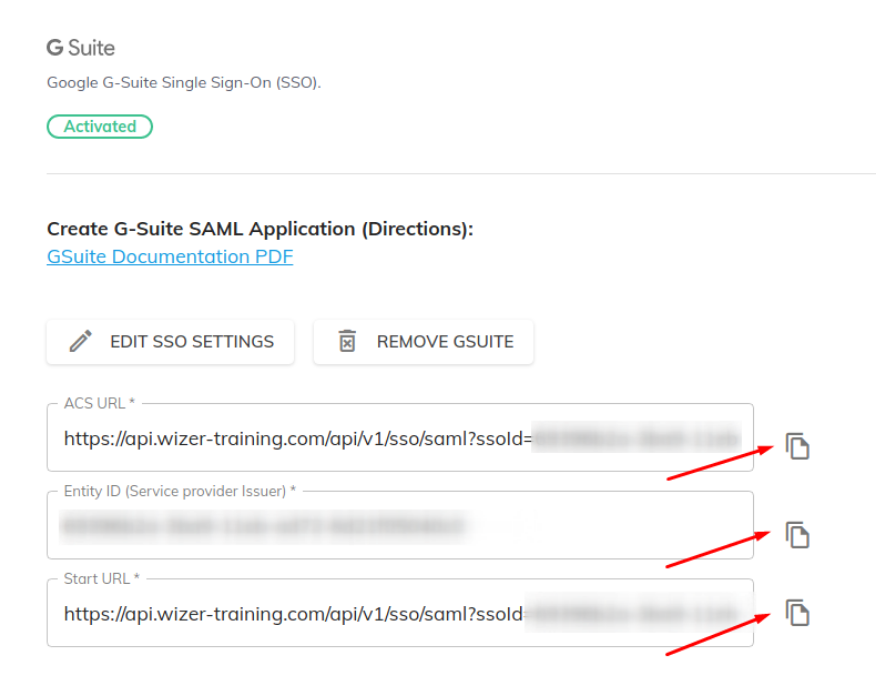
Copy values from Google Workspace Tab in the Wizer Admin Panel (the screenshot above) and paste
them into the Google Workspace App Wizard (the screenshot below):
• ACS URL
• Entity ID
• Start URL
Check the Signed Response checkbox.
From the Name ID Format drop-down list, choose PERSISTENT.
Then click Continue
8. On the Attribute Mapping step, click ADD MAPPING to map the values of your users’
accounts to the specified SAML attributes.
• Type email in the blank field and choose Basic Information and Primary Email from the
respective drop-down lists.
• Click ADD MAPPING, type firstName in the blank field, and choose Basic Information and First Name from the respective drop-down lists.
• Click ADD MAPPING type lastName in the blank field and choose Basic Information and
Last Name from the respective drop-down lists.
• Click ADD MAPPING type department in the blank field and choose Employee Details and
Department from the respective drop-down lists.
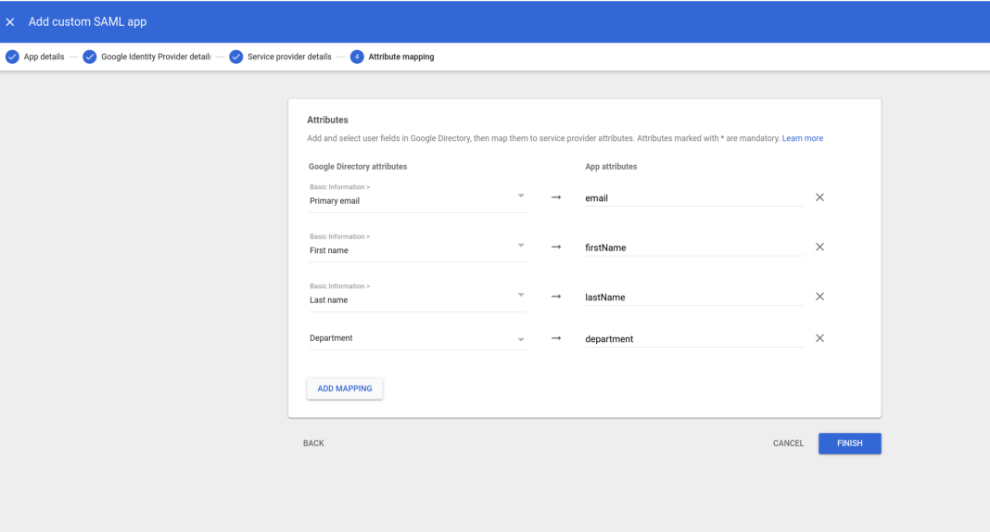
9. Click Finish
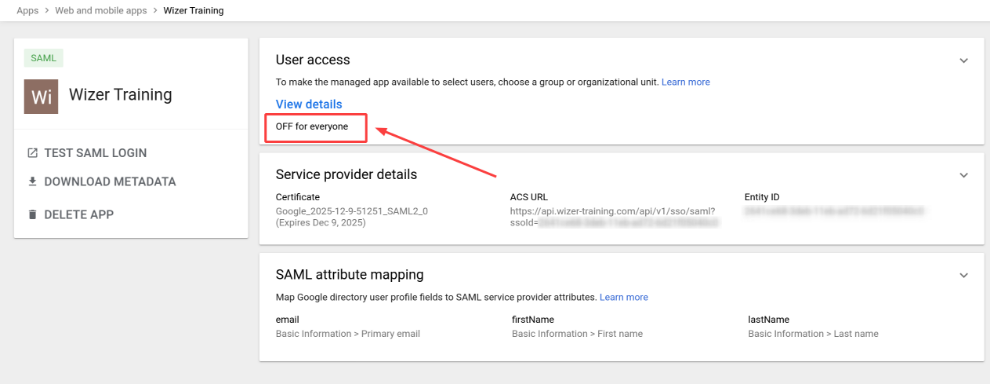
10. Your new SAML app is labeled as OFF for everyone. To turn it on, click the OFF for
everyone text
11. In the Service Status settings, click ON for everyone, and then click Save.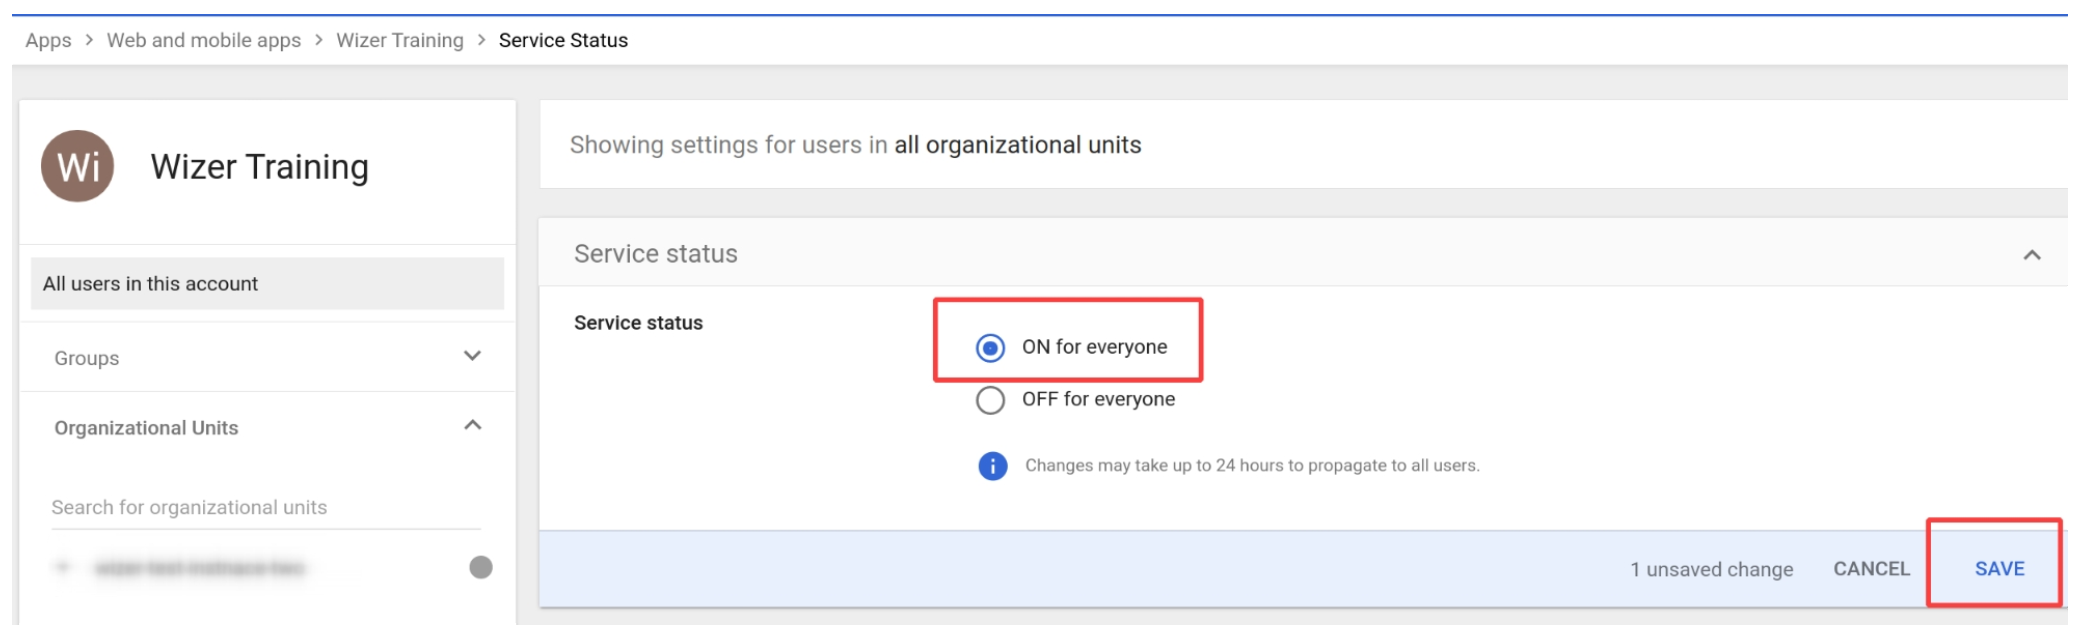
12. Test your Google Workspace login
Log out if you are logged in Employee App (https://app.wizer-training.com).
In Wizer Admin Panel, click your SSO Link in the G-Suite tab
https://admin.wizer-training.com/settings/single-sign-on
You will be redirected to the Employee App.
Click Log in.
You will be redirected to your Google Workspace login web page. Enter your Google Workspace credentials. You
should be redirected back to the Wizer Employee App and should be Signed In.
Step 2: Configuring the Directory sync for automatic user provisioning
Now to have your users synced automatically to Wizer you can configure (click the link below to proceed with step 2 which opens in a new tab)
Google Workspace Directory Synchronization
Any questions? Please contact our support specialists at support@wizer-training.com.