1. Adding users one by one.
Go to Departments => Choose Department => New Users => Add by email address.
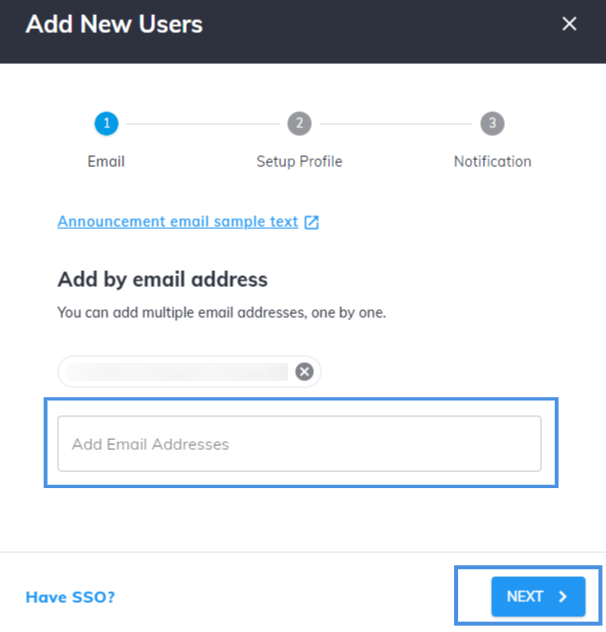
You can add multiple email addresses. After adding the emails, click on NEXT.
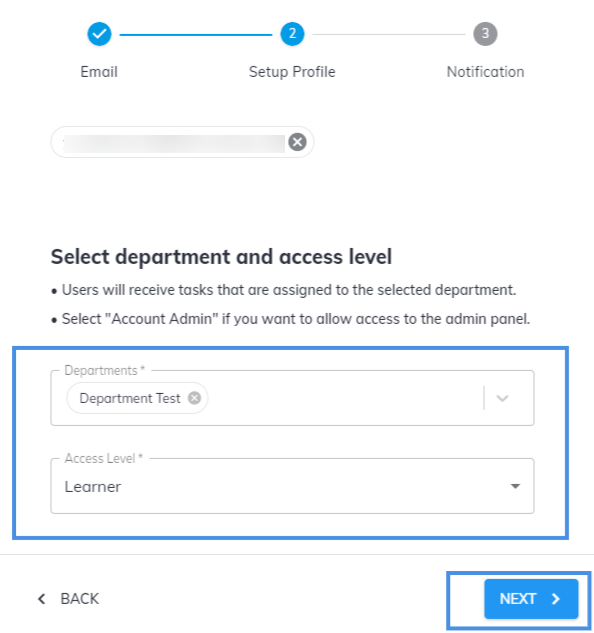
Here you can set up the users' profiles, change departments, and access levels (learner or admin). Click on NEXT to customize the notifications settings. Here you can check the outstanding tasks. The users will receive notification emails from no-reply@wizer-training.com and will see the name and the email of the admin who sent the notifications.
You can customize the email text or cancel sending notifications by clicking on the check box.
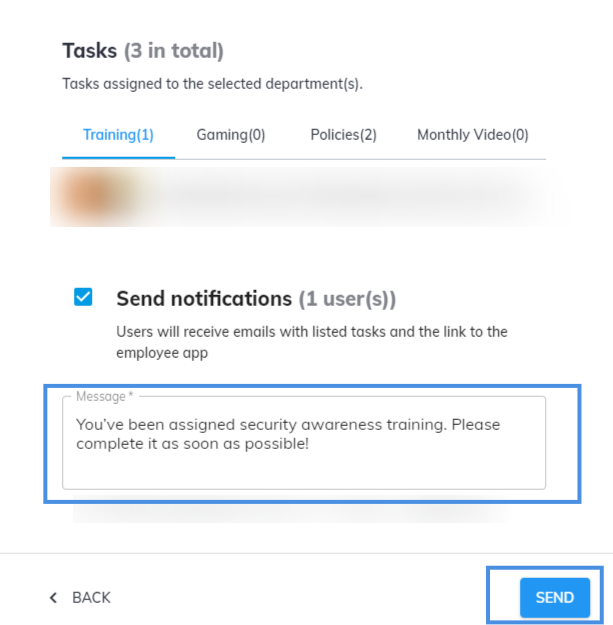
Click SEND. The users will be added to the department.
You can assign more users to the department by opening the specific department and clicking on Assign Users (the users who already were invited to the platform) or NEW USERS (by adding emails one by one).
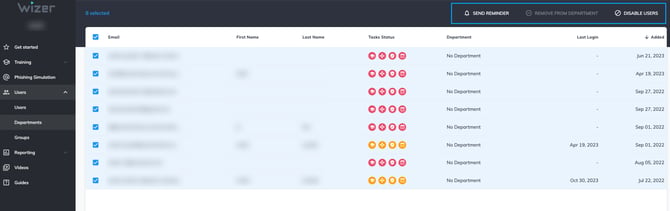
Entering the Department's users' list, you can see the following information about users: email, first and last name, task status, departments they already belong to, and last login date.
You can manage the users from their department: send reminders, remove them from the department, or disable users. For this go to DEPARTMENTS => Choose the Department => Mark in the check box users => Select the required option.
2. Adding users by using CSV files.
Please check the article in our Knowledge Base on How to Add Users.
3. How to manage users through SSO and user provisioning?
Please check the articles in our Knowledge Base in the Account Settings section.
Any questions? Please contact our support specialists at support@wizer-training.com