To configure the spam bypass filter please follow the instructions below:
1. Open up the Google Workspace admin console
2. Navigate to Apps>Google Workspace>Gmail section
3. In Gmail navigate to Spam, phishing, and malware
Alternatively, you can use the following link to be redirected to the required settings window https://admin.google.com/ac/apps/gmail/spam
4. In the Spam section, press configure
-png.png)
5. In the new window that opens, please insert a short name for the rule, and make sure it is configured as below:
Be more aggressive when filtering spam: OFF
Bypass spam filters for messages received from internal senders: ON
Bypass spam filters for messages from senders or domains in selected lists: ON
Bypass spam filters and hide warnings for messages from senders or domains in selected lists: ON
Put spam in administrative quarantine: OFF
Press on Create or edit list (this will open a new tab)
7. In the new tab that opens, press add address list-png.png)
8. In the next window, insert the desired name & use the bulk-add addresses option
%20(1)-png.png)
9. In the next window please insert the Wizer phishing domains from this list (comma or space-delimited)
For your convenience please find the comma-separated list below:
ssuport.com,supppot.com,center-supports.com,supoorts.com,suporrt.com,team-support.net,supppot.net,legal-user.com,the-verification.com,legals-team.com,authenticatecenter.com,ourlogin.co.uk,mnminfo.com,help-desc.com,account-protector.com,calendarsupdates.com,appstatusupdate.com,hr-updates.net,itservicesector.com,mailer-sender.com,servicealerts.net,status-pager.com,nonreplies.com,registerconfirmation.com,authverificator.com,get-amazon.net,link-provider.com,officeyour.com,linkmyauth.com,e-mailverification.com,authorisationservice.com,authorizationservice.com,e-authenticationservice.com,auth-provider.com,antiantivirusapp.com,providerer.net,nlmnxs.com,nlmns.com,authentification-provider.com,applicationnewsletter.com,certificationvalidation.com,securitysender.com,authentification-providerer.com,authentificationprovider.com,altasian.net,communitlyforums.com,validation-service.net,supplyservice.net,shopping-card.net,paymentserrvice.com,online-store-service.com,market-sales.net,internal-service-updates.com,infraupdates.com
Leave the Require sender authentication: On, and press on add.
%20(1)-png.png)
Once done, hit Save in the previous window:

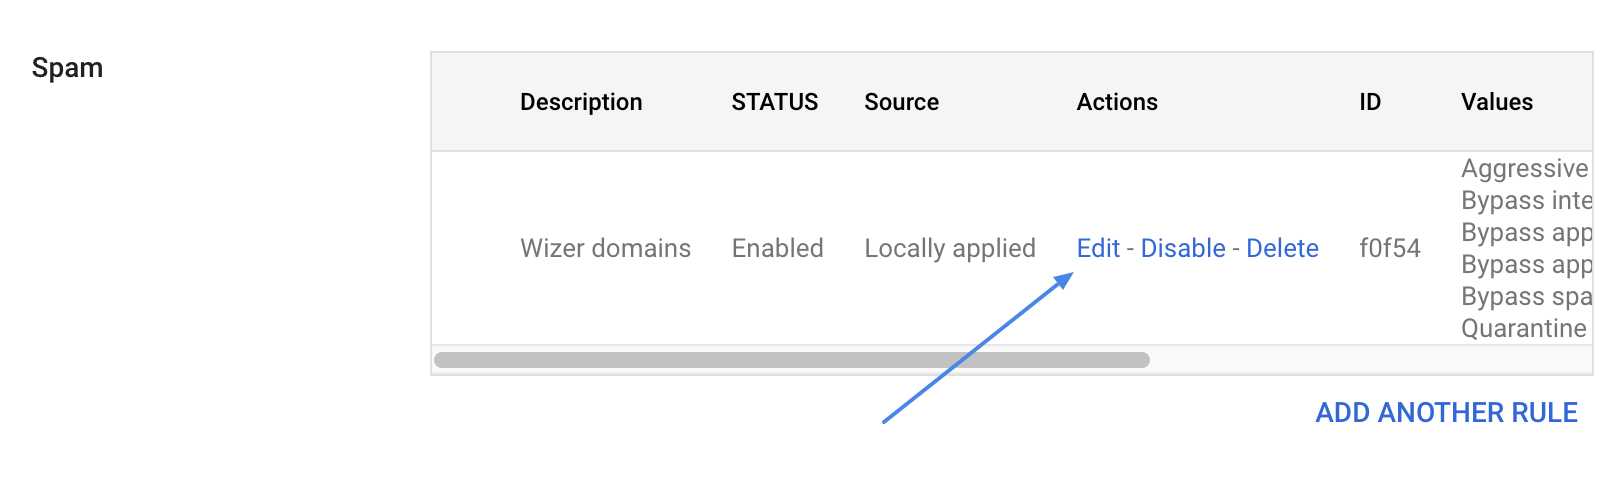
Now you should see the list configured (screenshot for reference)

Once the above is done, return to the Spam, phishing, and malware tab and press edit:
In the edit rule field please make sure to include the previously created list in the bypass list:
Press Save.
The rule should be ready now. Please note that the changes might take up to 24 hours to propagate.
Any questions? Please contact our support specialists at support@wizer-training.com