How to Disable and Enable Users
User Account Handling in Wizer: Disabling Over Deletion
Handling User Accounts in Wizer. We prioritize compliance and, therefore, do not offer the option for direct user deletion. This policy ensures adherence to necessary regulatory standards.
Disabling A User. Disabling a user is a safe and reversible alternative to deletion. It allows you to temporarily deactivate an account without losing any associated data or history, ensuring the option for restoration if needed.
Here's how to do it:
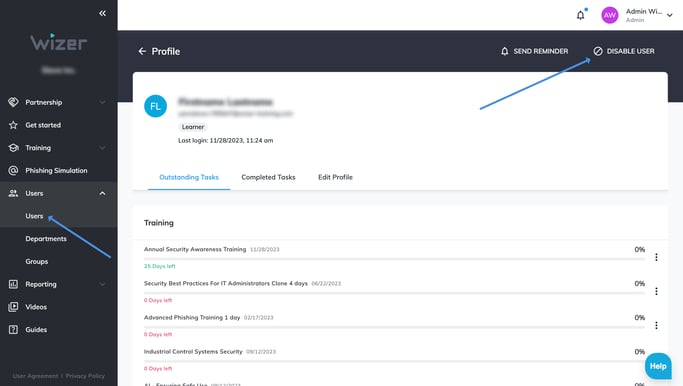
- Navigate to the admin console.
- Click on 'Users' on the left-hand menu.
- Enter the user's profile.
- Click 'DISABLE USER' (icon resembling a traffic stop sign).
Alternatively, you can disable multiple users at once by selecting them from the list and clicking 'Disable Users', followed by confirmation.
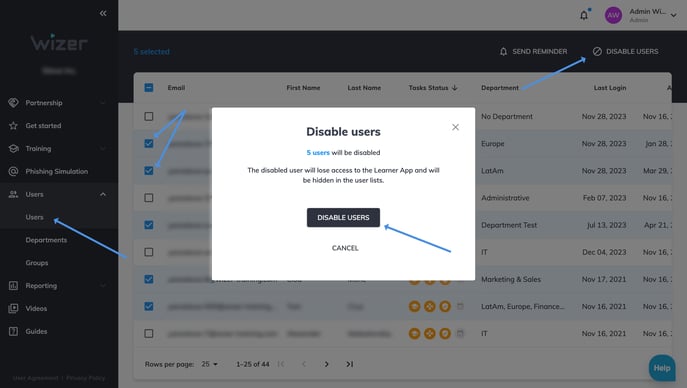
Disabled users' progress will not be shown in any progress reports.
IMPORTANT: A user's email can be changed if necessary from the user's Edit profile menu
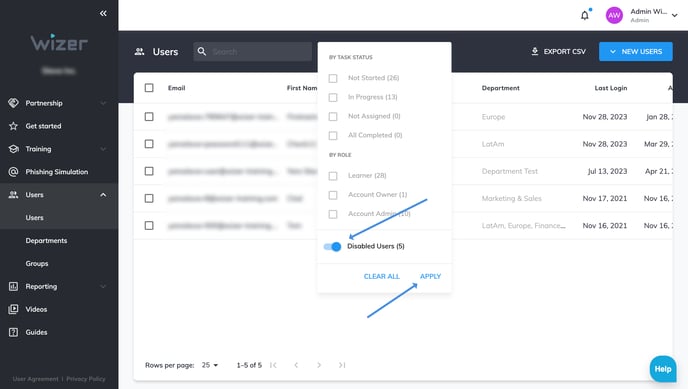
Locating Disabled Users.
- Go to 'Users' on the left-hand menu.
- Filter by 'Disabled Users' and click 'Apply'.
Enabling a User:
- Hover over the desired user.
- Click the user icon to enable.
- For multiple users, select them and click 'Enable Users'.

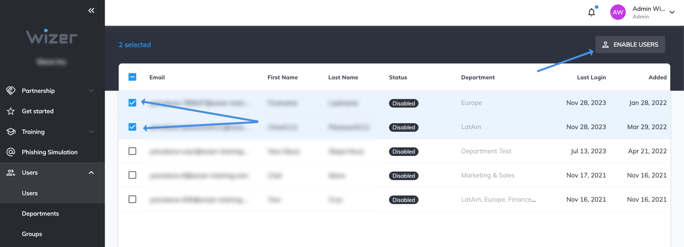
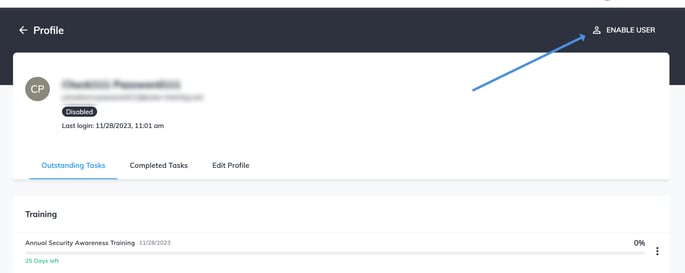
User data and the option of enabling can also be accessed by opening the user’s profile.
Any questions? Contact our support specialists at support@wizer-training.com